openSSL for windowsをインストール
Win32/Win64 OpenSSL Installer for Windows - Shining Light Productions
環境変数を設定
defaultのままだと以下。
C:\Program Files\OpenSSL-Win64\bin

OpenSSLをWindows10にインストールする - ねこの足跡R
Windowsで証明書関係の作業をしたくなったので、PowerShellから利用できるOpenSSLをインストールします。基本的にはインストーラーの言う通りに入れて環境変数を設定するだけです。
opensslコマンドが使えるかを確認
> openssl version
OpenSSL 1.1.1k  25 Mar 2021
使えるようなら以下のコマンドで秘密鍵と証明書を作成します。
今回はオレオレ証明書として使うため質問へは適当に答えてOK.
> openssl req -x509 -newkey rsa:2048 -keyout privatekey.pem -out cert.pem -nodes -days 365

Generating a RSA private key
..........................+++++
.........+++++
writing new private key to 'privatekey.pem'
-----
You are about to be asked to enter information that will be incorporated
into your certificate request.
What you are about to enter is what is called a Distinguished Name or a DN.
There are quite a few fields but you can leave some blank
For some fields there will be a default value,
If you enter '.', the field will be left blank.
-----
Country Name (2 letter code) [AU]:JP
State or Province Name (full name) [Some-State]:
Locality Name (eg, city) []:
Organization Name (eg, company) [Internet Widgits Pty Ltd]:
Organizational Unit Name (eg, section) []:
Common Name (e.g. server FQDN or YOUR name) []:
Email Address []:
import fastify from 'fastify';
import path from 'path';
import fs from 'fs';
const server = fastify({
logger: true,
http2: true,
https: {
key: fs.readFileSync(path.join(__dirname, 'https', 'privatekey.pem')),
cert: fs.readFileSync(path.join(__dirname, 'https', 'cert.pem')),
},
});上記で作成したキーと証明書を今回はhttpsフォルダに入れておきます。
そして、fastifyでファイルを読み込ませてサーバーを立てれば完了です。

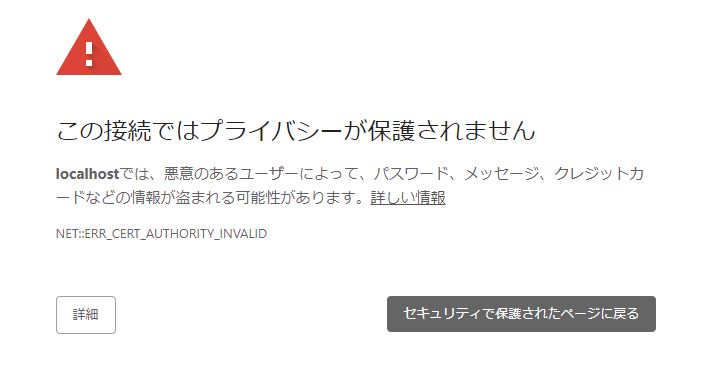
Chromeでアクセスすると警告されますが、構わず詳細ボタンを押してアクセスすればOK。


コメント